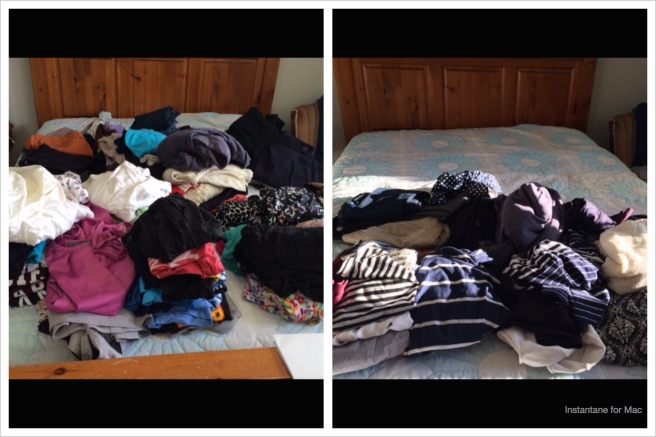
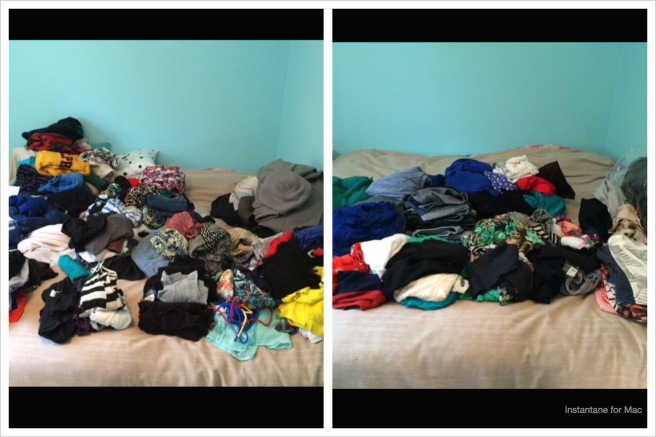
The past month I’ve been gearing up to do the BIG PURGE with my clothes and I’m so glad to report such success! I’m so grateful for those who have been supportive and excited along with me – it makes the process so much easier. Honestly, Hayley Morgan’s content in the No Brainer Wardrobe is fantastic. She provides videos, worksheets, encouragements and easy how-to steps for purging, but also re-building your wardrobe. I’m learning so much through this process! I know a lot of you are interested in doing something similar so I thought it would be helpful to share my process and steps. It only took 1 hour to do all this! That means, it’s possible for you to tackle your wardrobe too.
My Results:
 From 125 items -> to 40 items!
Sarah’s Results:
 From 192 items -> to 95 items!
Both me and my friend Sarah went through all this a few days ago with much success. Going through this process really helped along the way. I’ve done purges before, but not very successfully. In the past I spent too much time being sentimental, not having a desired goal, and making excuses, which = too many clothes.
Here’s what we’ve found helpful (both being the person and helping someone else):
- Determine your goal: This is an important place to start. Is your life transitioning? Both of us are planning to move this month, and I move around a lot and often live out of suitcases. I need a wardrobe that is easy and light to pack. Also something that’s current, classic, and good quality. I don’t want to look like a student anymore, but I also want to look approachable and modern. I knew I really wanted to pair down what I owned – the number 40 was in my head and I was very surprised to reach it! Also, have a friend join you who is objective and can help make difficult decisions. Someone whose compassionate as this can be an emotional process.
- Collect all your clothes into 1 place: Really think it out, where is everything stored? Especially if you’re a student or someone whose moved multiple times its possible you have some (really old) clothes in storage. It’s worth the time to make sure you have everyone in 1 place.
- Clear off a large space: Both Sarah and I used our beds, but it could also be the floor, living room etc. Past purge attempts by sifting through closets and drawers wasn’t helpful – it’s too overwhelming and it feels daunting. But doing all the sorting and assessing in 1 space so you can see everything actually works much better!
- Place all your clothes on that space and sort them into categories: I love organizing so for me this was the most fun part. Organizing them into categories works so you can work through each section. We sorted everything in our wardrobe except: underwear, workout clothes, pajamas, and scarves/accessories. Just focus on the main clothes for everyday use. I had 12 categories (pants, shorts, leggings, dresses, skirts, cardigans, sweaters, bathing suits, jackets, tank tops, t-shirts, and blouses). It’s ok if your categories are different – Sarah had 15. She separated pants from jeans, included undershirts and separated jackets from blazers.
- Do inventory: That’s right, count each item. This really blew our minds. I thought I didn’t have that many clothing items, but I had 125! Sarah started off with 192! Once you see all your clothes in 1 place, organized and counted, it gives a whole new perspective on how much you own. Plus, knowing how much you have in each category you can see patterns develop. For both of us, t-shirts were a huge proportion of what we owned. I was shocked to know that I had 17 dresses – each that I barely wore! Doing inventory also helped give perspective when we were done at how much we actually gave away.
- Go through each category: It doesn’t matter which one you start with. It felt daunting at first but we just picked whichever one felt manageable. Both of us had items that had seen much better days and they went straight into the garbage – this was easiest to start with! Then we went through the questions Hayley provides in her workshop (which you can sign up for here).
- Repeat Step 6: We both found the first round we were more unwilling to give things away. But as we kept going back and going through it again we realized there were many things we could do without. With Sarah, she started off with 37 t-shirts and after round 2 there still seemed to be too many. I encouraged her to pick out a few favorites, and when she started ordering them, she realized the tops that were at the bottom of the list could be donated. Or, anything that’s claimed “debatable” is thrown in the give-away bag straight away! She ended up with only 7 t-shirts!! (I was very proud).
- Distinguish “Need” versus “Want”: This was challenging for us. When we have 7 options of the same thing, we’re comfortable with that and don’t want to let go of extras. It’s also very helpful to know what your lifestyle is, and your goals moving forward. Both of us are leaving behind that grungy student life, and with multiple life transitions our wardrobe needs to update too! It’s also helpful to know what’s practical or normal for you. For instance, I rarely wear undershirts so having 2 is plenty. But Sarah wears them everyday, so it makes sense that she has more.
- Re-count: Once you’ve weeded and only have exactly what you need for your goal/vision moving forward re-count everything. This gives some perspective at how much you gave away, and how much you still have.
- The discards: For items that were garbage (stained, old, torn etc), those went straight into the trash. As we went through each item, there were pieces that we knew some friends could wear so we gave them away immediately. It’s too much work to let all our friends sort through our discards so we donated them to a local shelter. We chose one that gives away clothes for free to people in need, rather than Box Stores like Goodwill or Value Village will make a profit off our clothes. By the end, we gave away 3 giant garbage bags between both of us! We hope and pray that clothes that don’t fit us anymore, or aren’t worth dragging around, are a blessing for those in need!
When I went through my purge I found it to be quite easy. It was something I was gearing up for, for a while and I was ready. Later than evening and the next day, once it was all over I felt a lot more overwhelmed and emotional. It felt hard to let go and see those clothes that once made me feel beautiful go. It’s hard to let go of clothes that don’t fit anymore because of weight gain, but I decided it wasn’t worth keeping them with the hope I could fit into them again. Having clothes that don’t fit makes me feel guilt and shame. I want to be healthy and wear clothes that fit – even if I do lose weight over time. I don’t want to aim to fit into specific clothes that are left over in my closet, it gives me too much stress.
Purging can feel overwhelming and emotional, but press onwards! It’s worth the end result, and the feeling of achievement. I had pretty dramatic results and it feels like a huge weight is lifted off of me. I loved helping Sarah do it too – it was smart that we did hers while we still had momentum and before she could change her mind! Once you feel committed, make it happen quickly, or life gets too busy.
If you go through this process please let me know! I’d love to connect and hear about your experience. Or if you want to go through it yourself and need help – I’m here for support!


Good job!!
Eunice
Neat! Was this inspired by our conversations? I’m glad you found the courage to get rid things. I’ve definitely found it to be so freeing to have fewer clothes that coordinate into better outfits. Having specific clothes that I’m looking for when I go shopping helps me not buy random “pick me up” clothes. I’m so much happier with my “look” now than when I had a ton of shirts I felt guilty about not wearing (since I’d spent the money on them).